
Next i used the heat gun to soften it up a bit and mold it to the shape of my helmet to recreate the 'mohawk'. It took a few tries. Too much pressure will snap the hard foam.

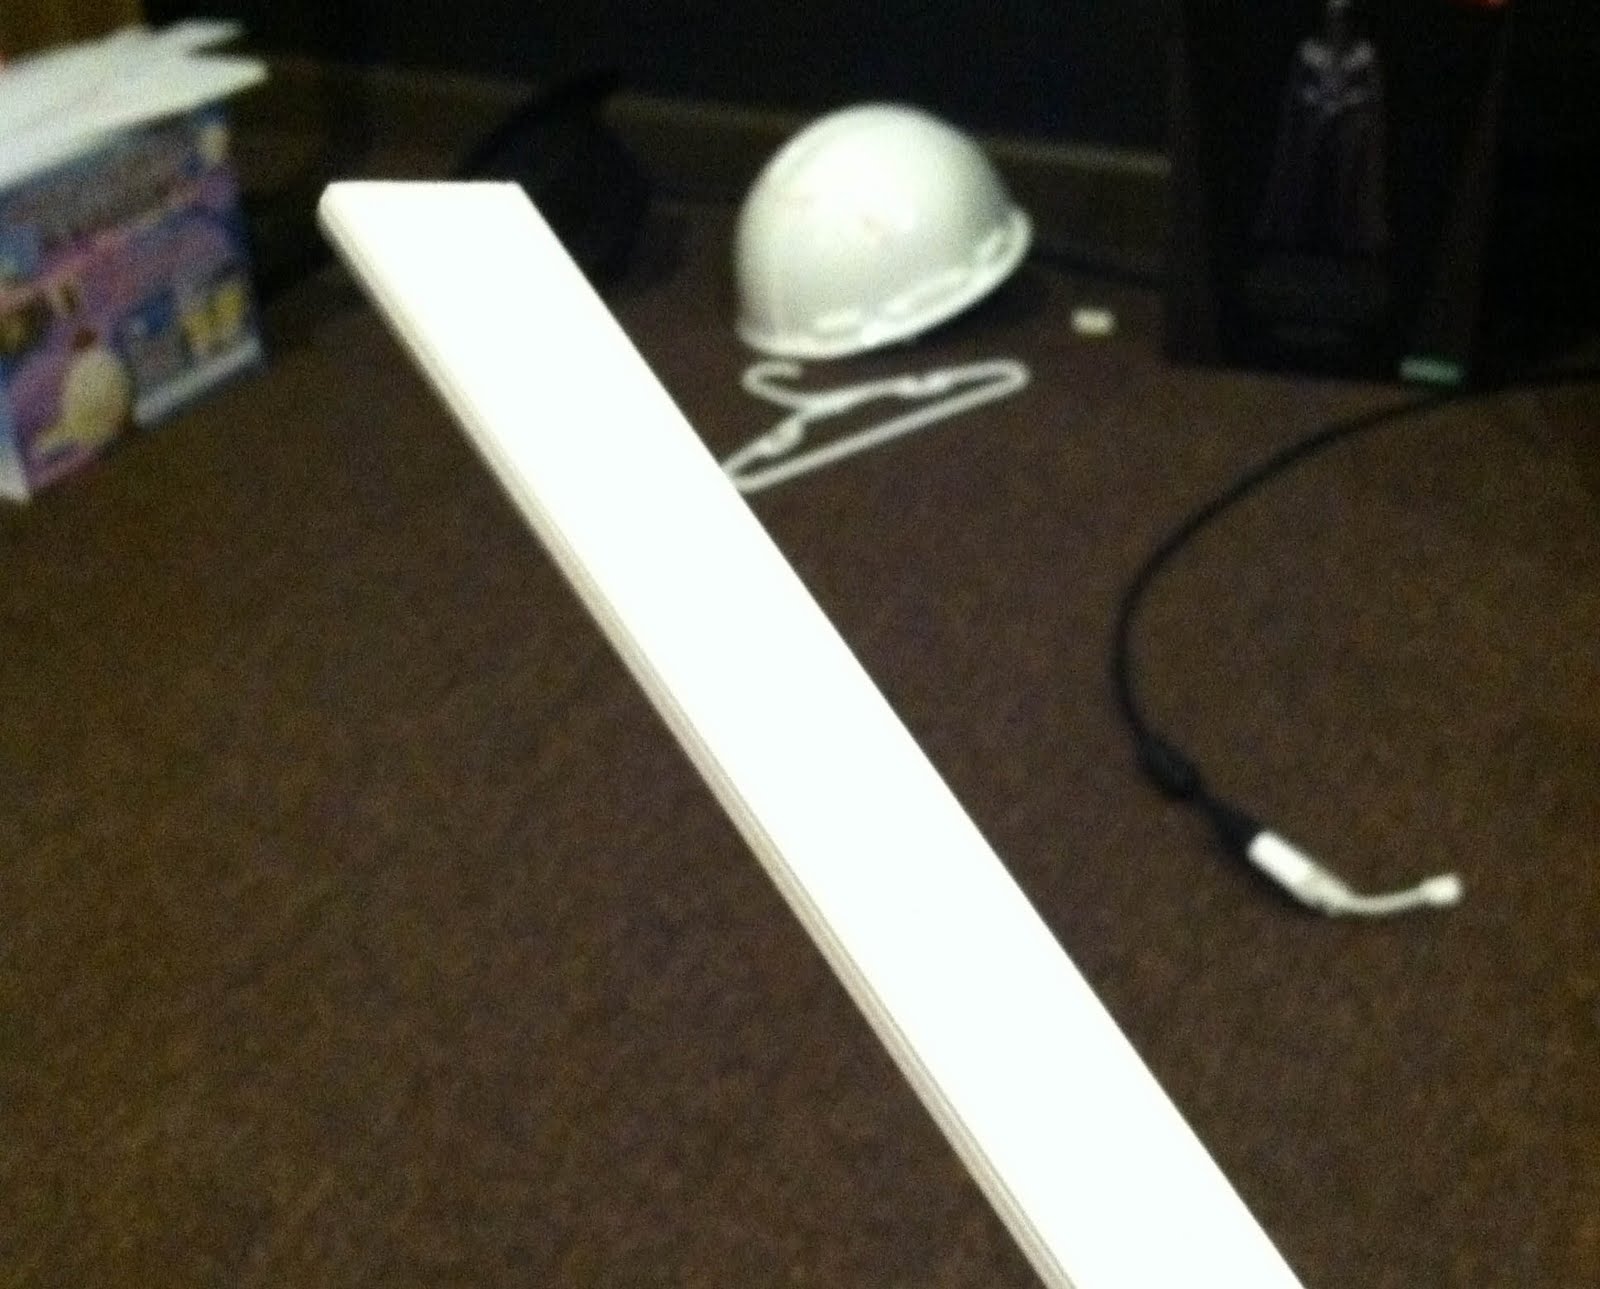
Jumping a bit forward here. I decided 1 inch longer in the back was TOO much of an extension of the helmet, so i cut off about 3/8 of an inch. It looks just about right now.
Sorry for the blurry pic here and there. I'm taking these pictures with my Phone, I have a much better camera but i don't want to subject it to the conditions in my workshop while I'm doing this stuff. Lots of dust and such.

Sanded the eyebrows, Sanded the paint off the center so the mohawk glue would actually stick, and Sanded quite a bit of material off the back side so that the sides would match.
Gluing the Mohawk On
Here we see the mohawk glued in place with gel superglue.

Here is another view of the mohawk attached, and the rear 'left' sanded down a bit.

Last shot of the mohawk You can see here its two pieces. I'll be puttying in the space between the curved and straight piece.

Here's an ordinary plastic bucket for the beach. I got a few red ones to destroy for this project.
The bottom of these are about the right size, and they have n indentation that allows them to 'stack' without turning.
I'm going to use these to make the mount for the mask to the helmet.

Here on the left is the one that i am going to fiberglass the INSIDE of, and on the right I'm going to fiberglass OUTSIDE. then fiberglass one to the mask and one to the helmet.
This is my plan for a hopefully successful way to mount the mask to the helmet. I think I will add super strong 'rare earth magnets' afterwards to make it stay on.


Here are the inside of the eyelids. These were a lot rougher looking in the last update. Here i have used the dremel sanding bit to remove a lot of material and smooth it out so i can add some fiberglass. I want this surface to be good and solid for mounting the lenses to.

I pre-cut a bunch of pieces of fiberglass as i knew i needed small pieces to do this area around the eyes without adding a ton of weight and resin.


So here are the inside and outside forms of the mount. Very pleased with the progress so far... Got a LOT done today.
No comments:
Post a Comment