I feel I have finally reached the point where I see the light at the end of the tunnel though... The FACE is coming together now.. The following occurred over about a two week period upon return from my last trip to Virginia Tech.
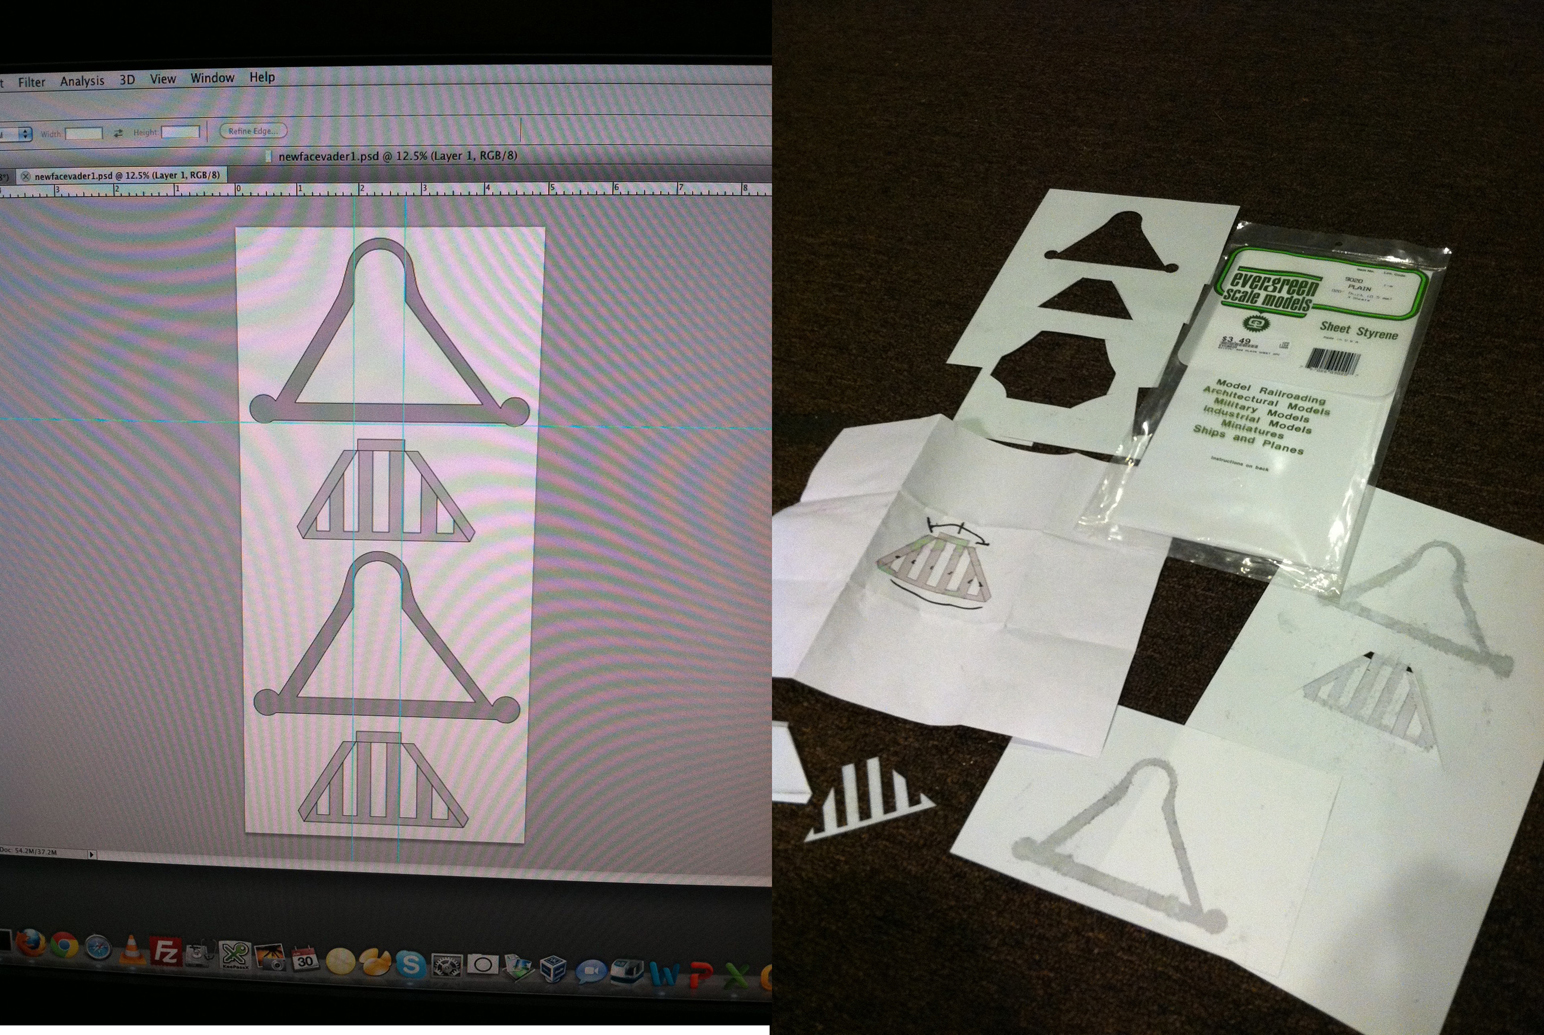 | |
| As anyone with a Rubies Helmet will tell you, the mouth is NOT symmetrical. So here are some photoshop drawings I made by tracing the mouth shapes from the mask onto paper, scanning it in, and then planning how i would make the teeth 'right' |

Here's the First of the plastic templates cut from styrene sheet and glued onto the mask with cyanoacrylate (superglue) gel.
I made two main templates, the 'outside outline' one applied here, and the 'teeth' one applied later.


1/4 inch square styrene 'tubing.' Evergreen and Plastruct are some of my new best friends. So I cut out several of these and glue them to the back of the template that is glued to the front of the mask, gluing them on from the inside. I'm not gonna lie, this was a PAIN.. i cut about ten teeth out for the 6 needed but i got the hang of it.


So heres what i did.. I puttied over the whole upper nose.. then made a styrene template with the holes for these cut out of it and glued it around the nose in a previous post... In this step I used an X-acto razor saw to cut down each one. The Evercoat filler cut great, but the ABS and styrene plastics cut poorly. I used a dremel cutting bit to 'drill out' the excess material. I am left with kind of what i want, but with very ugly edges.

Just a quick note here that I did a few things:
1. Dremelled around the eyeholes and inside of nose to remove a lot of excess material.
2. Dremelled, sanded, cut, and sanded some more, to get the eyeholes as close to perfect as i can. These should be super smooth and ready to accept the Lenses behind them.
3. Put body filler in behind the bottom of the teeth to keep them secure.

Thats right, More body filler. then more sanding needed..

More sanding and filing done after the filler was applied and dried. Lets see how we did...

I am seriously starting to see a likeness here... Cheeks are appropriately asymmetrical for ESB Vader, Eyeholes are smothed out. Teeth are looking pretty good... now to tackle those pesky brow slots again..
Missing Step?
Well I have left out a step because I didnt take photos..I was too busy!
Brow Slots
Basically I took some tape and put the lines down for the brow slots. This time they'd be easy to cut out since the material to be removed is all body filler, which cuts much more nicely than abs or styrene. So I cut down with the X-acto razor saw again, then I used an x-acto knife to cut along the edges and the filler just sort of flaked out of the slots properly! A little bit of work with some small detail files and i have some pretty good slots done.
Sanding and FilingAgain
Next I Sanded and filed all the areas that still needed more work... AGAIN.

And here we are. Primered again. Very VERY VERY close to done..


And there we have it!
That is the end of todays lesson in: WHY YOU SHOULD JUST BUY A PREMADE VADER HELMET AND NOT MOD YOUR OWN. :)
(Seriously I am having a lot of fun with this project, but my GOD the labor... )
No comments:
Post a Comment